Adding the Lace
 |
| Get psyched for hours of hand sewing! |
How to Sew an Applique Seam
Even though this video is 16 minutes long, I'm sure I watched it at least twice because I was so fascinated with this technique. I consider my sewing resume to be broad, if not especially skilled, so I was blown away to find that this was a possibility. Be prepared though, after watching how lace is ACTUALLY supposed to be put together, you'll never look at a store bought lace dress the same way.
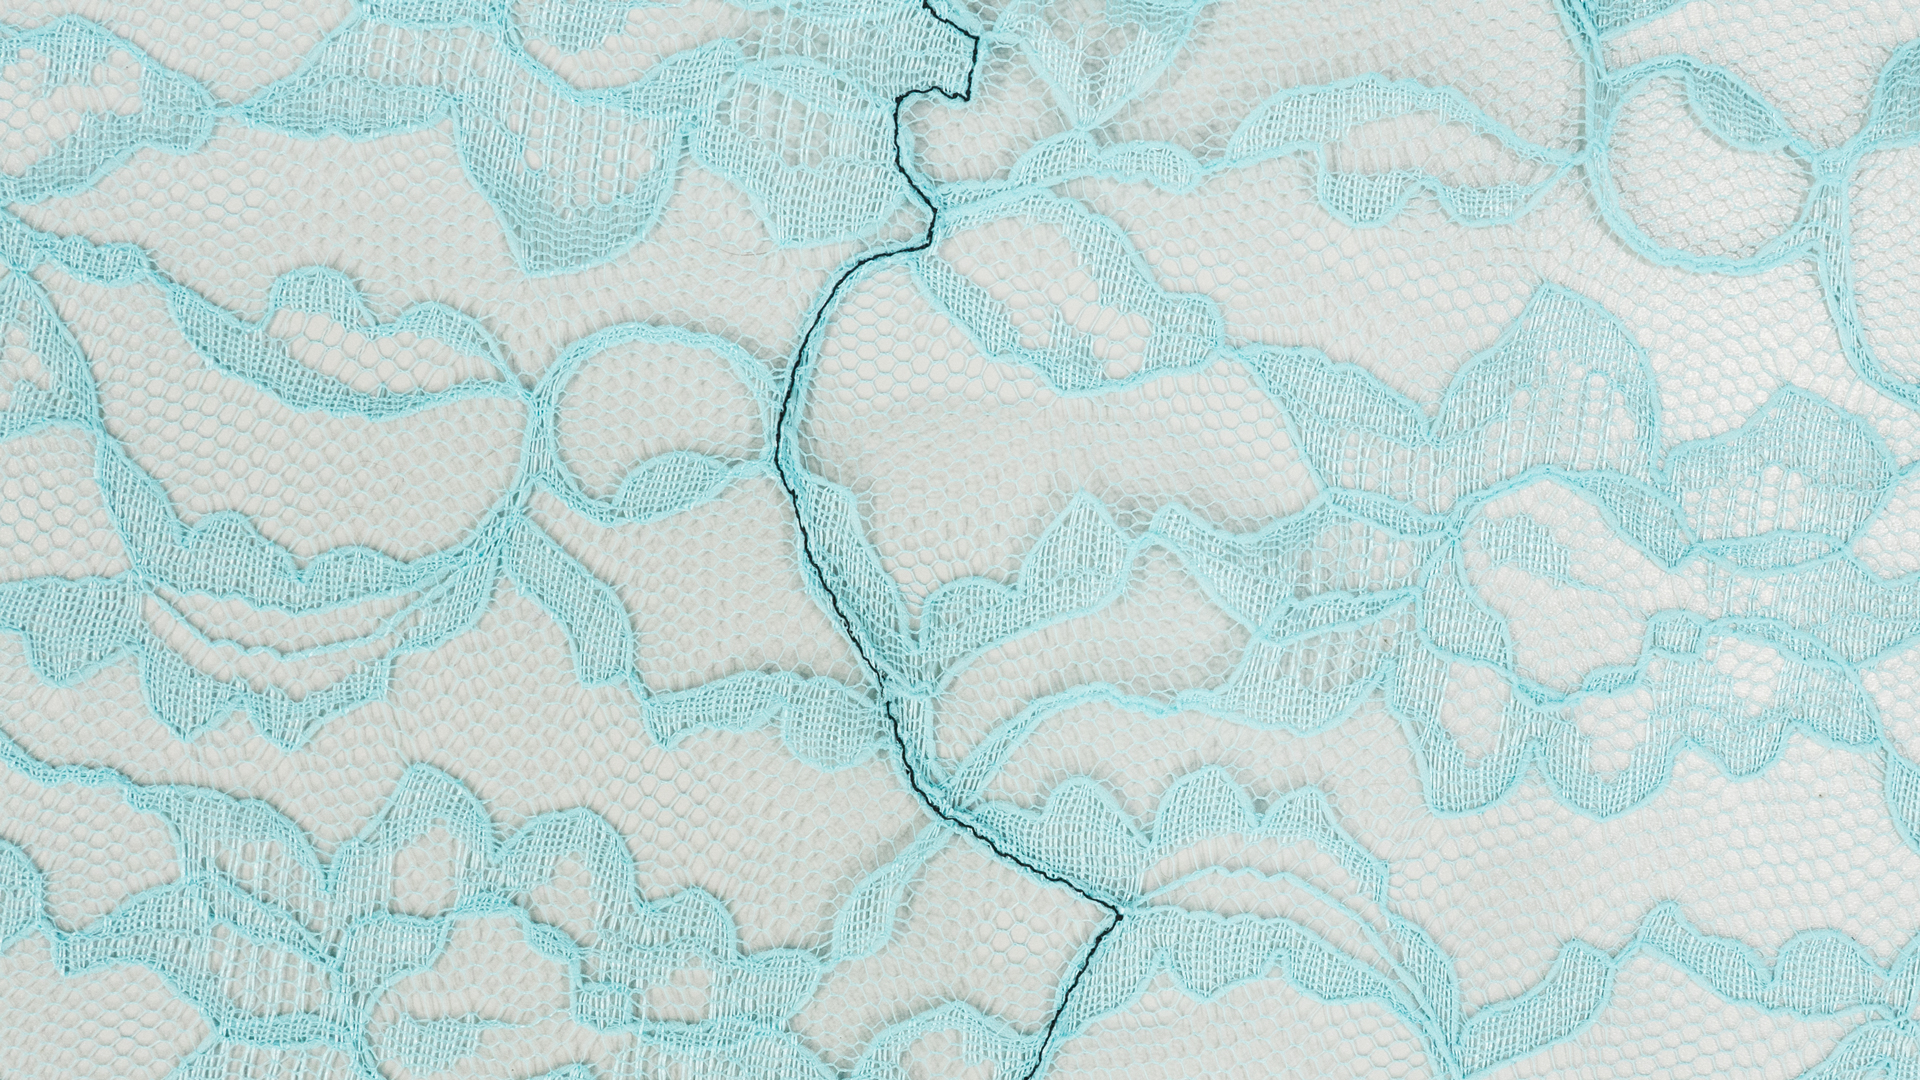
"But Rachel! It's like a main law of nature that when you sew a flat shape into a three dimensional form that you're gonna have some straight seams." Yes and no. On the off chance you didn't watch the Youtube video I linked above, here is a still shot from the video.
The dark line you see running through the center of the image is actually the seam. Instead of using the normal sewing technique of right-sides-together, you overlap the lace right side to wrong side, create a meandering path to attach the two pieces, and then cut off your now-very-wonky seam allowances.
This technique can also be used to create invisible darts, as show in the image above. I believe this is a bust dart, and I'm pinching the excess fabric to get an idea of where i need to be sewing.
In the image above, I've cut down the center of the dart (perish the thought), and overlapped the two sides. Between the tip of my thumb and the tip of my middle finger, you'll notice the fabric looks a little fuzzier because of the two layers of mesh lace on top of one another.
Finally, after stitching the top to the bottom and cutting off the excess fabric, you end up with a dart or seam that's invisible to the naked eye. If that isn't absolute sorcery then I don't know what is.
Now that you've seen the magic of the applique seam, the way I constructed the rest of the bodice is probably pretty self explanatory. I put my dress on my dress form and draped and cut lace with no pattern to cover it in whatever way I wanted. One of the several perks of lace is that there's frequently no grain to really worry about, so I really just stuck it on any old way.
 |
| Pro tip: when sewing white garments, use pins with colored heads. |
For extra fun, and because I had extra lace, I made a mock up sleeve and sewed it to a tank top to test the sleeve length.
I definitely recommend doing this when you're not using a set pattern for a few reasons. You get to experiment with how tapered or straight you want it, how long you want it, and you get an idea of whether it's going to be itchy or start gaping after an hour of wear. As an unnecessary perk, you also end up with a tank top with one sleeve sewn on, just floating around your house. I opted for a slightly shorter sleeve, a little more tapered, and since it wasn't going to be visible to anyone, I used a French seam down the length of it. I know I know, I just went on and on about applique seams but there are also times that perfection can be sacrificed in the name of comfort (no raw edges with a French seam) and speed (I can't even guess how many hours I put into hand sewing the bodice to *only* the top layer of the dress).
I also cut individual scallops from the edge of the lace to position individually around the neckline.
 |
| Bodice complete, sleeves pinned on, and detachable belt included for effect. |
 |
| Back view of same, I believe here I've trimmed along the zipper to clean it up. |
Well fellow sewists, aside from hemming it, I believe I've come to the end of my construction. I'll leave you with one picture that I think is funny. I tried over and over to try and get this dress to be a boat neck, and in this picture you can see I almost have it.
However, come wedding day, this dress absolutely INSISTED on being off the shoulder. I have basically a solid line of garment tape all the way around the neckline, my back, and shoulders. So my final tip to you is this- bring tape. Bring pins, thread, anything you think might keep you in the dress, because after trying it on 10 times, it might not fit the way you're expecting.
 |
Surprise! New neckline! |
Happy sewing, and please do let me know if you found any of this helpful. I've specifically resurrected this blog hoping to help a fellow sewist or ambitious dreamer, thinking of what I found most helpful when I was working on mine.


Comments
Post a Comment